How to Cut and Drill Carbon Fiber Tube Without Splitting It
Share
Read this bit first
Carbon fibre dust is not sawdust.
It's a respiratory irritant, the fibres don't break down in your lungs, and the dust is electrically conductive — which matters if it settles inside a power tool or across a circuit board. It also itches, and fine splinters under the skin are genuinely hard to find and remove.
So before anything else: a properly fitted respirator, not a paper dust mask. Safety glasses, because the cut edge is sharp and brittle and bits do fly. Nitrile gloves. And do it outside or with real extraction, not in the spare room with the door shut.
Five minutes of setup. Then the actual work is easy.
Cutting: what to use
The right tool for carbon tube is one that grinds rather than one that cuts with teeth.
Best: a Dremel or die grinder with an abrasive cut-off wheel. Fast, clean, cheap consumable. In a workshop, an angle grinder with a thin cutting disc works too, if you can control it.
Also good: a diamond blade in a wet tile saw. This is the method I'd pick for a workshop doing volume. The water kills the dust problem almost entirely and the cut comes out square and clean. It's how a lot of frame builders do it.
Fine for one-offs: a carbide grit rod saw. Slow, but it fits in a hacksaw frame and it grinds its way through without an angle grinder's tendency to grab.
Not this: a standard hacksaw with a toothed blade. The teeth catch the fibres instead of cutting them, and you get a frayed, splintered edge that's structurally worse than the rest of the tube. Bolt cutters and tin snips are worse still — they crush the wall and leave an oval end.
If you have nothing but a hacksaw, you can get away with it on a thick wall in an emergency. Expect to clean up a lot of frayed edge afterwards.
Supporting the tube is the whole trick
Here's the failure mode that ruins more tubes than any other.
A cutting wheel pushing down through a thin-walled tube has nothing resisting it on the far side. So the wall deflects inward, the wheel grabs, and the tube pinches shut at the cut. You end up with a slot instead of a round end, and a crack running up the wall.
Fix: two blocks of scrap wood, a gap between them, tube lying across the gap, cut in the gap. Both sides of the cut are supported by wood, the wall can't move, and the cut comes out clean.
Five minutes to set up. Worth every one of them.
Marking and taping
Wrap a strip of masking tape around the tube at your cut line and mark on the tape.
Two reasons. Pencil lines don't show on black carbon, and the tape supports the surface fibres at the cut edge so they're less likely to fray away from the resin. It's a small thing that makes an obvious difference to how clean the edge looks.
For a square cut, measure the tape's edge to the line in two spots on opposite sides. Carbon tube off the mandrel is very straight, so two marks and a tape edge gets you square enough for anything short of a precision frame.
Finishing the cut
You're not done when the offcut falls away.
Deburr the edge with a fine file or 240 grit paper. The cut edge is sharp, and sharp edges on a tube end are where cracks start. Running the file around at 45 degrees removes the sharpness without much effort.
Then seal it. Mix a little thin CA glue or epoxy and run it around the exposed end. Carbon tube has open fibres at a cut edge, and unsealed ends can fray and can wick moisture into the composite. A sealed end lasts longer and doesn't shed fibres onto your hands every time you handle it.
If the bore needs cleaning out — sometimes the cut leaves a lip — a gentle pass with a round file, by hand, not in a drill.
Drilling carbon tube
You can drill it. You have to do it properly, or you'll split the tube.
Tooling. Carbide-tipped or diamond-grit bits. Standard HSS bits will drill it but blunt almost immediately, and a blunt bit is what causes most of the damage. If you're doing more than a couple of holes, buy a carbide bit and treat it as a consumable.
Some people use masonry bits, which are carbide-tipped and cheap. They work. They're not elegant.
Speed. High speed, light pressure. The opposite of drilling metal. Carbon is abrasive rather than gummy, so you want the bit spinning fast and barely being pushed. Lean on it and the bit grabs, the tube cracks along the fibres, and you're ordering another one.
Back the hole. Slide a wooden dowel or a length of scrap inside the tube so the bit has something to exit into. Without it, the far wall of the tube blows out into a ragged hole with a ring of delamination around it that you can't see from the outside and that will spread under load.
Don't try to go through both walls in one pass. This is the other classic mistake. You drill the near wall fine, the bit exits, grabs the far wall at an angle, and now you've got an elongated hole in one side and a damaged one in the other, and the two don't line up. Drill one wall, check alignment, then drill the other. If you need precision, drill a pilot in a drill press and finish by hand with the tube hand-held so it self-centres.
Clamp the work. Hand-holding a tube that a spinning bit is catching is how you get a tube flung across the shop and possibly a hand injury. Clamp the tube and move the drill.
Clear chips often. Carbon chips are abrasive and they'll clog the flutes. Back the bit out regularly.
Countersink gently. If a flat-head screw or a countersunk fastener is going in, use a piloted countersink and barely touch it. Pressure here splits tubes at the hole.
Holes vs clamps
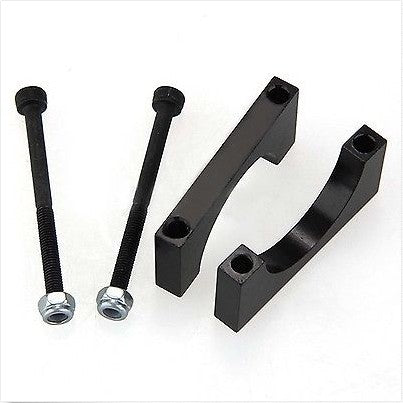
Worth saying plainly: if you can use a clamp instead of drilling, use the clamp.
A clamp distributes load around the tube and doesn't cut any fibres. A drilled hole cuts fibres and creates a stress concentration right where the load is highest. On a drone arm, a bolted-through hole at the motor end is the single most likely place for a tube to fail, and it's almost always avoidable with a clamp at each end of the span instead.
It is why we keep clamps on the shelf at WHABEST. Drilling is for when the geometry leaves you no other option.
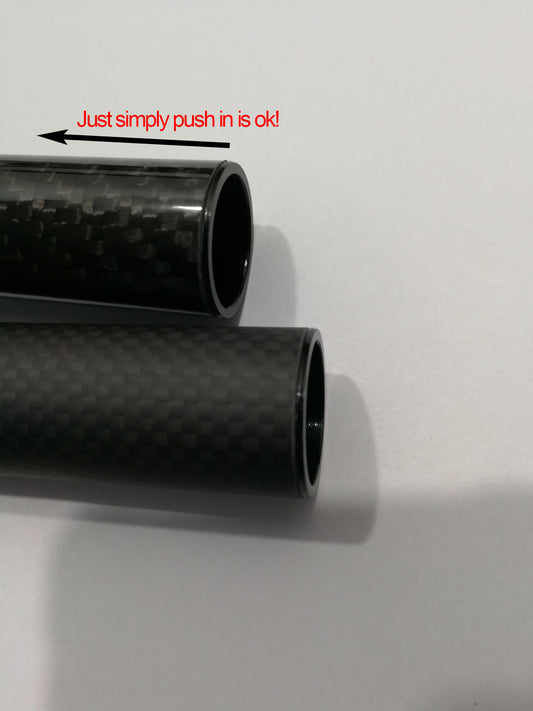
And if you're clamping a thin wall — under about 1.5mm — the clamp will crush the tube before it's tight enough to hold. A reinforced sleeve pushed inside the end gives the clamp metal to squeeze instead. Two dollars to save an arm.
If you do split one
It happens. Here's how to tell whether to bin it.
A frayed or splintered cut edge. Not structural. File it flush, seal it, carry on. Cosmetic damage only.
A crack running along the tube from a hole or a clamp. Structural. The load path is broken and it will propagate under load. Retire the tube. This isn't a "wrap some resin round it" situation — you cannot restore the fibre continuity through a crack, and a patched tube looks fine right up until it doesn't.
A soft spot you can find with a thumbnail. Delamination, usually from an impact or a crush. Retire it. If a thumbnail can deform the wall, the internal layers have already separated.
White or grey streaks in the weave. Usually resin crazing from over-tightening a clamp or a fastener. Not always fatal, but it's a warning. Check it after the next flight and see if it's growing.
You'll notice the pattern: anything that looks cosmetically rough is fine, and anything that looks structurally compromised is not repairable. That's the honest position, and it's cheaper than finding out in the air.
Tools, summarised
| Job | Use | Avoid |
|---|---|---|
| Cutting | Abrasive cutoff wheel, diamond blade (wet), carbide rod saw | Hacksaw, tin snips, bolt cutters |
| Support | Two blocks of wood with a gap | Freehand, no support |
| Surface prep | Masking tape over the cut line | Pencil directly on the tube |
| Finishing | Fine file or 240 grit, round file for the bore | Leaving the edge raw |
| Sealing | Thin CA glue or epoxy | Nothing — seal it |
| Drilling | Carbide or diamond bit, high speed, light feed, back the hole | HSS bits, heavy pressure, one pass through both walls |
| Fixing, if possible | Clamps with sleeves | Drilling holes in a loaded span |
Frequently asked
Can I cut carbon fibre tube with a normal saw?
A fine-tooth saw will eventually get through it, but the teeth catch the fibres rather than cutting them cleanly, and you get splintering plus a decent chance of cracking the resin along the cut. An abrasive wheel costs less than the tube.
Does cutting weaken the tube?
Locally, at the cut, a little — you've exposed fibre ends and removed the sealed edge. Do it properly, file and seal the end, and the loss is negligible. The bigger risk by far is a ragged cut that starts a crack, which is why the finishing steps matter as much as the cut itself.
How do I stop the dust?
Wet cutting is the real answer — a diamond blade in a tile saw with a water bath produces almost no airborne dust. If you're cutting dry, do it outdoors or with extraction, and wear a fitted respirator regardless. A paper mask doesn't seal and doesn't stop the fine fraction, which is the fraction that matters.
Can I drill carbon fibre tube without it splintering?
Yes, and the two things that prevent splintering are backing the hole with a wooden dowel and using light feed pressure with a sharp carbide bit. Almost every split tube I've seen was caused by leaning on the drill, or by drilling through both walls in one pass.
Can I glue fittings onto carbon tube instead of clamping?
You can, and it's done. Two-part epoxy, and roughen both surfaces first — carbon's smooth surface is a poor glue joint until you give it something to key into. It's permanent though, and it doesn't come apart for repair, which is why most people use clamps on anything they might want to take apart again.
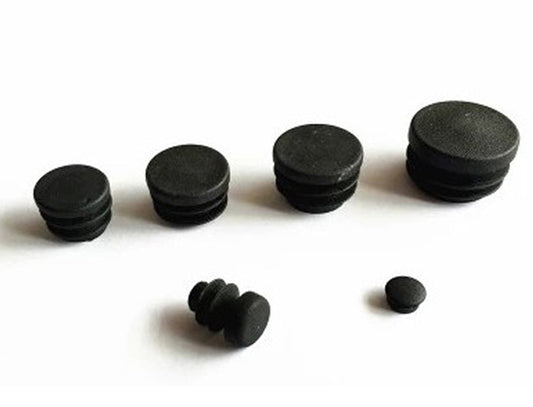
Tubes are grouped by outside diameter in the carbon fiber tube sections. If you'd rather not drill at all, the tube parts section has clamps, caps and sleeves for 10mm to 62mm tube — and sleeves in particular are worth a look if your wall is thin. Picking the tube comes first, and the sizing guide covers that. If it is going on an aircraft, read the drone arm guide before you cut anything.